October 21, 2016

Painted Polish's Rainbow Reef


As soon as I got the email about UberChic's new mermaid plate I just had to order it. Once it came in the mail it was even more stunning in person. What could possibly pair better with a mermaid stamping plate other then Painted Polish's At Sea Volume II collection?!? I did only use 4 of the colors out of the collection but the entire set is fantastic. Lexi makes some of my favorite crelly polishes hands down. They just never disappoint. Rainbow Reef is no exception. I don't have to fuss with the glitters to get them to apply at a certain place or lay down flat.


To start off my nails I laid down a base coat of FingerPaints sticky base coat. I really like this base coat when it comes to applying anything with glitter because it gives them something nice to stick to. Although you can only use two coats of Rainbow Reef I did go ahead and do three just because I like to have as much glitter on  my nails as possible. Once dry I did apply a thin layer of Out the Door top coat on my two middle nails so that I had an extra layer of protection for stamping.

I took Painted Polish's Boating In Blue Jeans and stamped on the mermaid scale image in to my squishy stamper. While that was drying I used the same polish and the vitamin sea image and stamped it on to my ring finger. After a thin layer of OTD top coat again over the scales I filled in some of the gaps with Painted Polish's Stoned On Sapphire and Siren Seduction for extra glittery goodness. The top coat I had applied down allows me to make it more like a decal so when I am applying it to my nails I can just take it off the stamper with tweezers and line it up on my nail where I want it. A quick trim with scissors and some clean up and all that was left to do was apply my favorite top coat of HK Girl by Glisten and Glow. I will say between the glitters on my middle nail and the ones in the white crelly base I did need to do two layers of top coat just to make sure that it was completely smooth.

Social Medias>>
Instagram: Onepolishedmomma
Twitter: Onepolishedmom
Facebook: Onepolishedmomma
Snapchat: Onepolishedmomma


I hope you all have a wonderful day! 
-Samantha

October 7, 2016

Frankenslime 2016


You can't just look at this polish and not have it scream Halloween at you! This neon goodness is Glam Polish's Frankenslime 2016. It is part of their 2016 Halloween trio.

Frankenslime is a neon green jelly base jam packed with purple and green micro glitter, large purple hex glitter, and what seem to be thicker green circular glitter. Due to the size of the larger glitters they do have a bit of an issue laying completely flat so you will wind up with a few sticking up. I did three thin coats to get the color as opaque as I could, as well as pack on the glitter.

I wanted to do a simple accent nail for this because I wanted to color to be the main focus. For the web I used UberChic beauty Halloween-02 plate with Mundo de Unas purple. I made a decal for the spiders with the same plate and MDU black polish. I only wanted two small spiders instead of a whole image so I applied a thin layer of top coat to image and once dry just cut out the two I wanted. Of coarse my beloved Hk girl top coat was used to seal everything in and give a high shine.

Social Medias>>
Instagram: Onepolishedmomma
Twitter: Onepolishedmom
Facebook: Onepolishedmomma
Snapchat: Onepolishedmomma


I hope you all have a wonderful day! 
-Samantha

October 4, 2016

Glam Polish's I Want To Play A Game


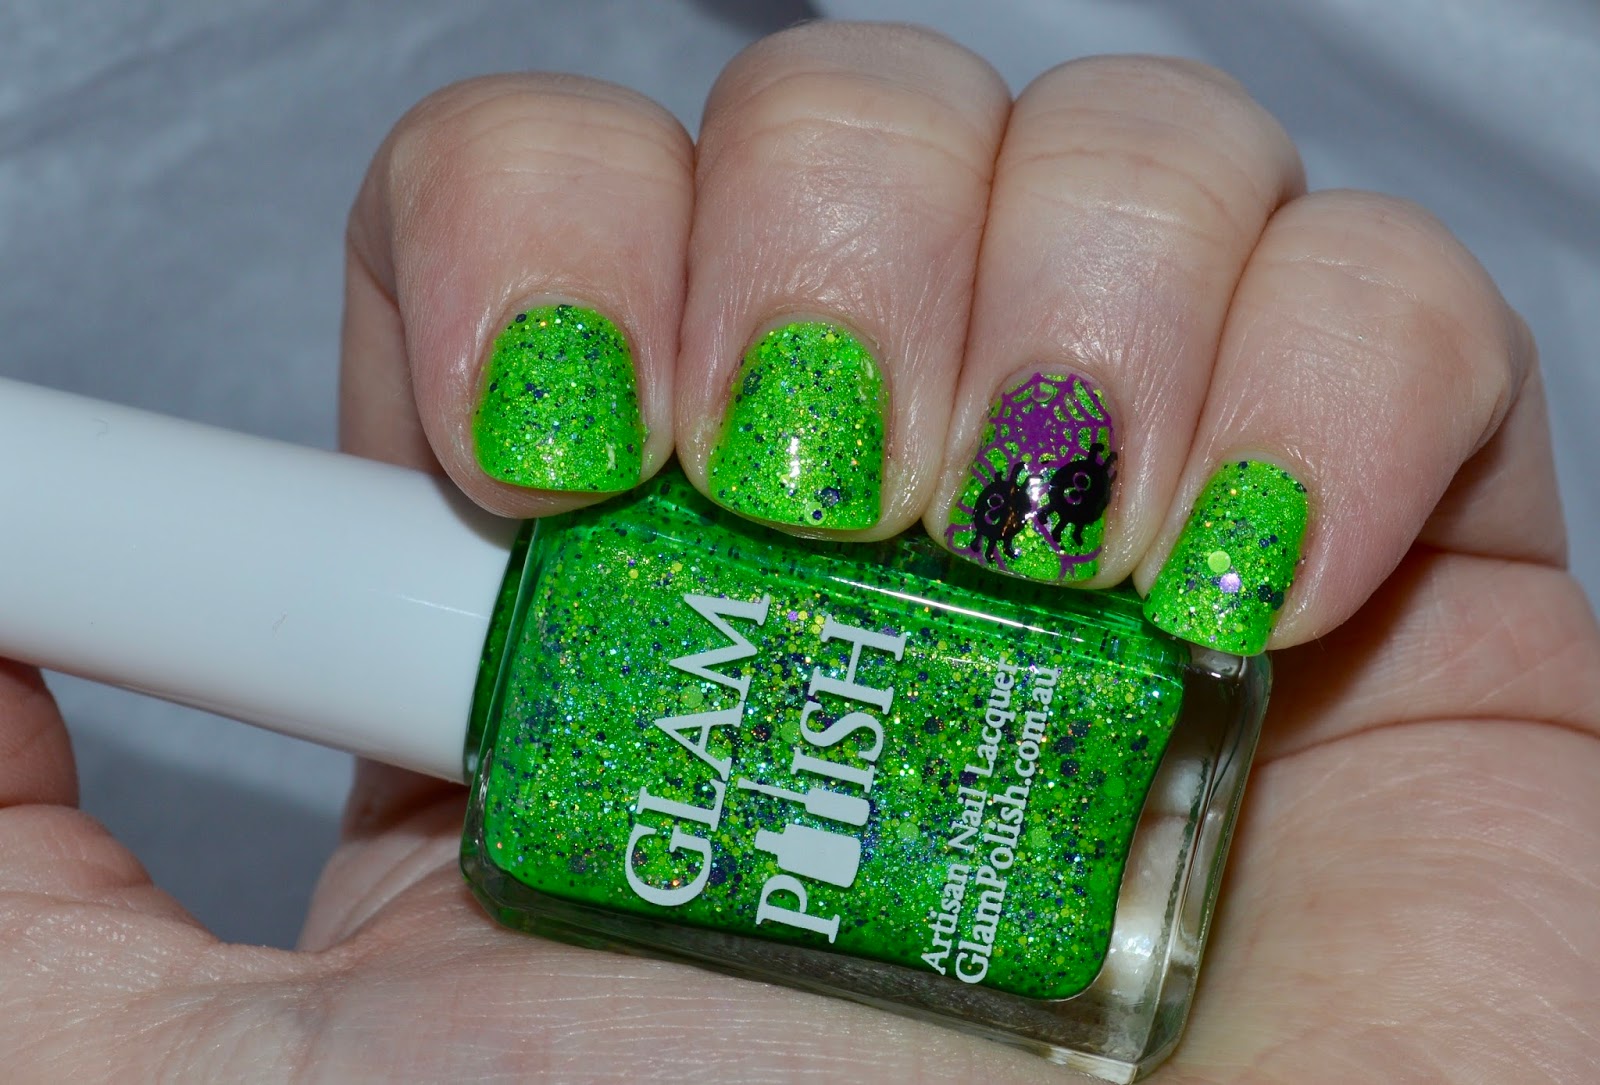
Glam Polish decided to release a ton of new limited edition halloween colors this past week. Unfortunately they were small batches so once they were sold out that was it, no more. I missed out on one shade I was wanting but I was able to get all the other colors I was hoping to get. Now although they are halloween polishes I am just not quite ready for halloween nail art. So to show off this stunning blue I decided to pair it with a galaxy look. I thought it would make the perfect background for a space look.

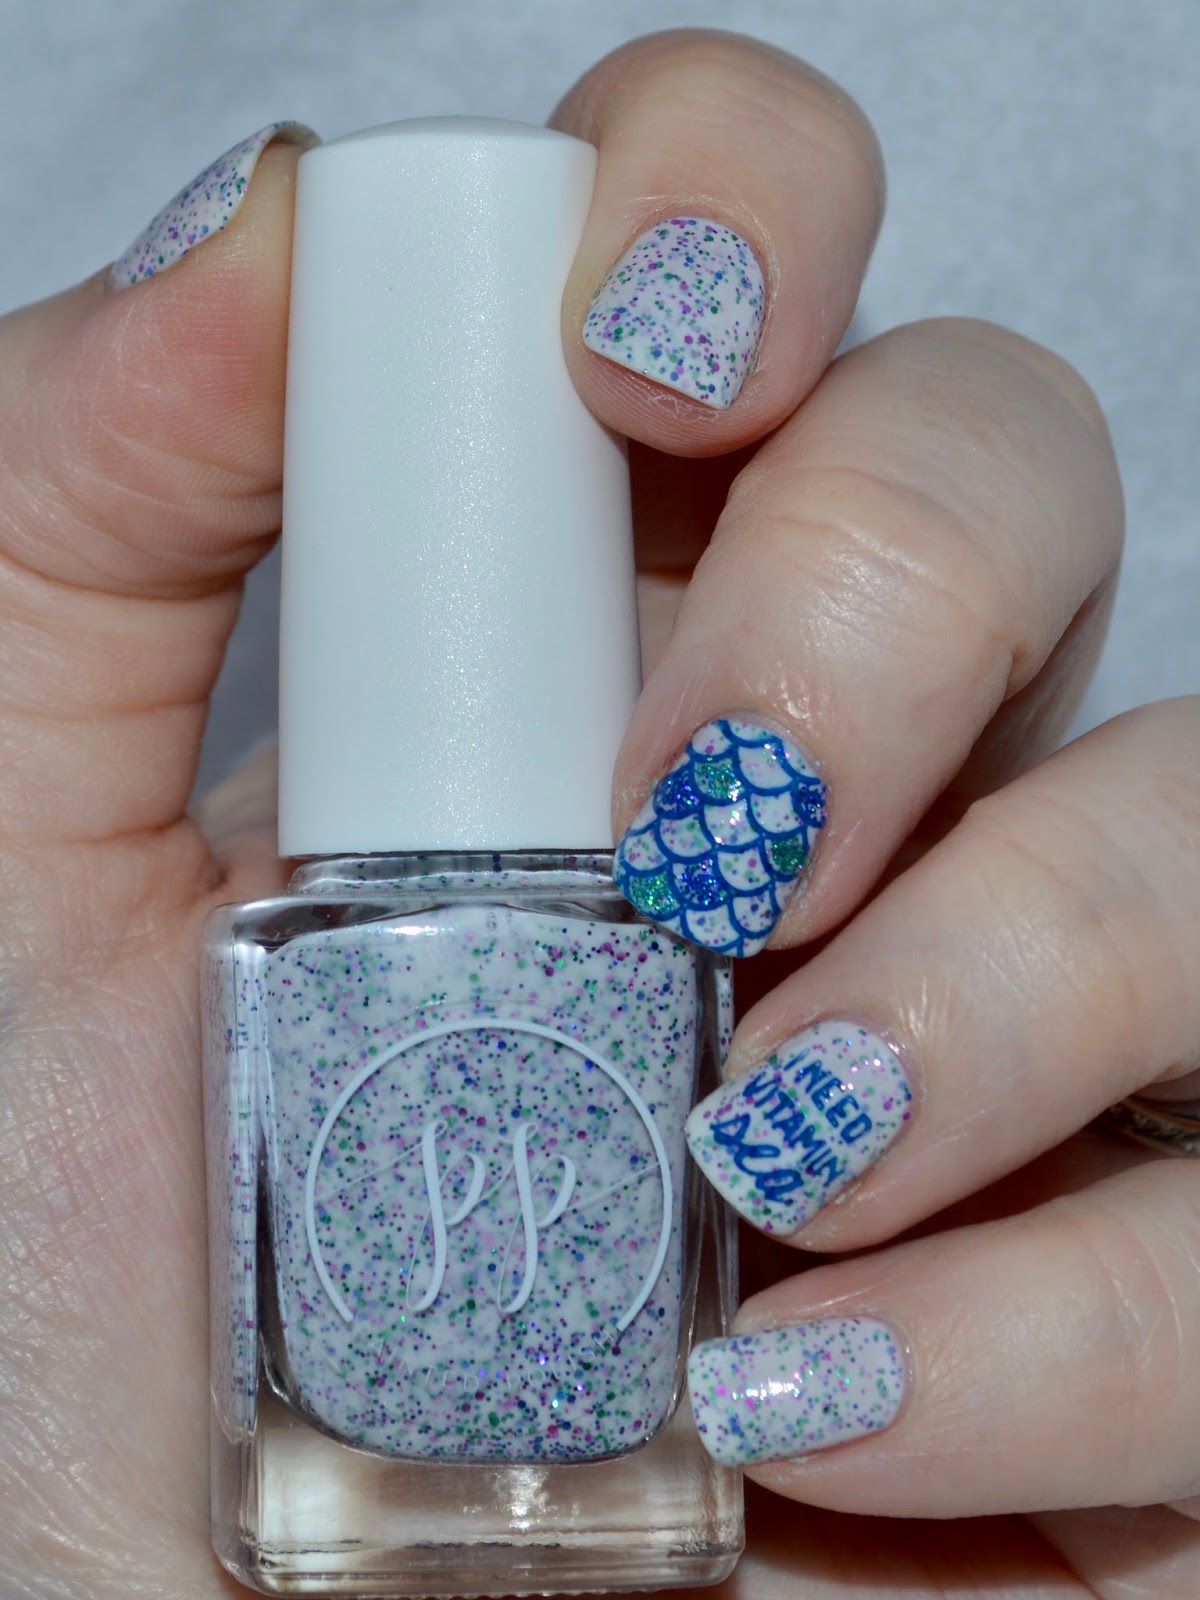
The most amazing part of this polish is the iridescent flakies that are in it. They almost look like opal does, when you look at it one way its one color and then you change the angle the color changes. I will say that they are a bit of a pain to get out the bottle and on to your nail, but once on they are just amazing. I did three coats of the polish to make sure that I got the most flakies I could. You could honestly probably only get away with two coats but I am a bit extra.

For the galaxy nails I thought it was only fitting to pull back out my Glitter Daze Space Candy collection. I ripped up a cosmetic sponge into the smallest pieces possible to keep from making the colors spread too much. I sponged down a white first, Kb Shimmer's Eyes White Open, to help ensure that all the pastel colors would show as bright as possible. For the colors I just went back and forth with Intergalactic Sprinkles, Cosmic Cake, and Lunar Cravings until I had the look I was going for. I did take some more of that white and with a brush dabbed on some stars. Once all the layers of polish had dried I went in with my usual coat of Hk girl top coat. Glam Polish is quickly becoming one of my all time favorites brands for those jam packed glitter polishes. You will definitely be seeing more from their halloween collection in my few next upcoming posts, so keep an eye out for them.

Social Medias>>
Instagram: Onepolishedmomma
Twitter: Onepolishedmom
Facebook: Onepolishedmomma
Snapchat: Onepolishedmomma


I hope you all have a wonderful day! 
-Samantha