Showing posts with label glitter. Show all posts

October 7, 2016

Frankenslime 2016


You can't just look at this polish and not have it scream Halloween at you! This neon goodness is Glam Polish's Frankenslime 2016. It is part of their 2016 Halloween trio.

Frankenslime is a neon green jelly base jam packed with purple and green micro glitter, large purple hex glitter, and what seem to be thicker green circular glitter. Due to the size of the larger glitters they do have a bit of an issue laying completely flat so you will wind up with a few sticking up. I did three thin coats to get the color as opaque as I could, as well as pack on the glitter.

I wanted to do a simple accent nail for this because I wanted to color to be the main focus. For the web I used UberChic beauty Halloween-02 plate with Mundo de Unas purple. I made a decal for the spiders with the same plate and MDU black polish. I only wanted two small spiders instead of a whole image so I applied a thin layer of top coat to image and once dry just cut out the two I wanted. Of coarse my beloved Hk girl top coat was used to seal everything in and give a high shine.

Social Medias>>
Instagram: Onepolishedmomma
Twitter: Onepolishedmom
Facebook: Onepolishedmomma
Snapchat: Onepolishedmomma


I hope you all have a wonderful day! 
-Samantha

September 5, 2016

Leadlight Florals


Another amazing glitter polish from Glam Polish. It makes me want them all now. Good thing my bank account can't afford that. I only picked up two and now I am regretting it.
This stunner is called The Best Futterwacken In All Of Witzend. It's part of their Alice collection again. This thing is chucked full of colorful glitters. It was almost a one coater but to just be on the safe side I did two coats. I am so amazed at the dry time of these polishes. I don't even need to use a quick dry top coat before stamping.

For the stamping I used my Mundo de unas black with UberChic's plate 5-02. Just to make sure I didn't have any smudging when filling in with color I did apply a thin layer of top coat. I busted out my Rica squishy polishes to fill in the flowers. I used Squishy Grape and Squishy Strawberry. It took two coats to get them quite as pigmented as I wanted them to be.

The glitter leaves a bit of a texture so to smooth everything out I used two coats of Glisten and Glow Hk Girl top coat.


Social Medias>>
Instagram: Onepolishedmomma
Twitter: Onepolishedmom
Facebook: Onepolishedmomma
Snapchat: Onepolishedmomma


I hope you all have a wonderful day!
-Samantha

August 30, 2016

Double Stamp Dragonfly


I got a clear head stamper a while back but I have been having so much trouble with it that I never bothered to try double stamping that I see all over the place. For some reason it just never wants to pick up my Mundo de unas stamping polish. I have tried a million different stamping images but it never works so I almost lost faith in it. I gave it a shot with my new Painted Polish stamping polish and low and behold it worked!!

So for my bright green glittery-goodness base color I used two coats of Glam Polish Down The Rabbit Hole. It is my first every Glam Polish and I will say I have never been more impressed with a glitter polish in all my life. It was pretty much opaque in one coat but I did two just to be on the safe side. It went on so smooth, the glitters don't stick up or catch on the end, pigmentation was amazing, there's just not enough words to describe how much I LOVE this polish. I will most definitely be getting more.
For the stamping I used stamped with Mundo de unas white with my regular squishy stamper head first, before using Painted Polish's Stamped in Pink 2.0 with my UberChic plate 4-01. I did try to offset the pink over the white some so you could still see both colors. Once it was dry I went in with my favorite top coat, Glisten and Glow's Hk Girl.


Social Medias>>
Instagram: Onepolishedmomma
Twitter: Onepolishedmom
Facebook: Onepolishedmomma
Snapchat: Onepolishedmomma


I hope you all have a wonderful day!
-Samantha

August 19, 2016

Painted Polish's Red As Cherry Pie


I recently made a purchase from Painted Polish, my first ever!! I am in love with her crellies. They are some of the most pigmented, smooth, and easy to work with ones I have ever tried. I am going to do a couple swatches over the next few posts showing off some of the ones I got from her rainbow crelly line.
First up is Red As Cherry Pie. It is a white base filled with small red and silver hex glitters and tiny red, white, and holographic circle glitters. The best part about these polishes is that I only had to use two coats to get full opacity and I did not need to set my bottle upside down before use.
To accent the polish I used the cute little pies from Bundle Monster's plate BM-H13. I stamped with Mundo de unas black and filled them in with Opi's 5 Apples Tall and Orly's Prince Charming.
Now because of the glitters in the polish you do want to either go in with a thicker top coat or use two coats of a thinner one to fully get a smooth surface. I used my beloved HK Girl from Glisten and Glow.

Social Medias>>
Instagram: Onepolishedmomma
Twitter: Onepolishedmom
Facebook: Onepolishedmomma
Snapchat: Onepolishedmomma


I hope you all have a wonderful day!
-Samantha

June 3, 2015

Subtle Neon Clouds


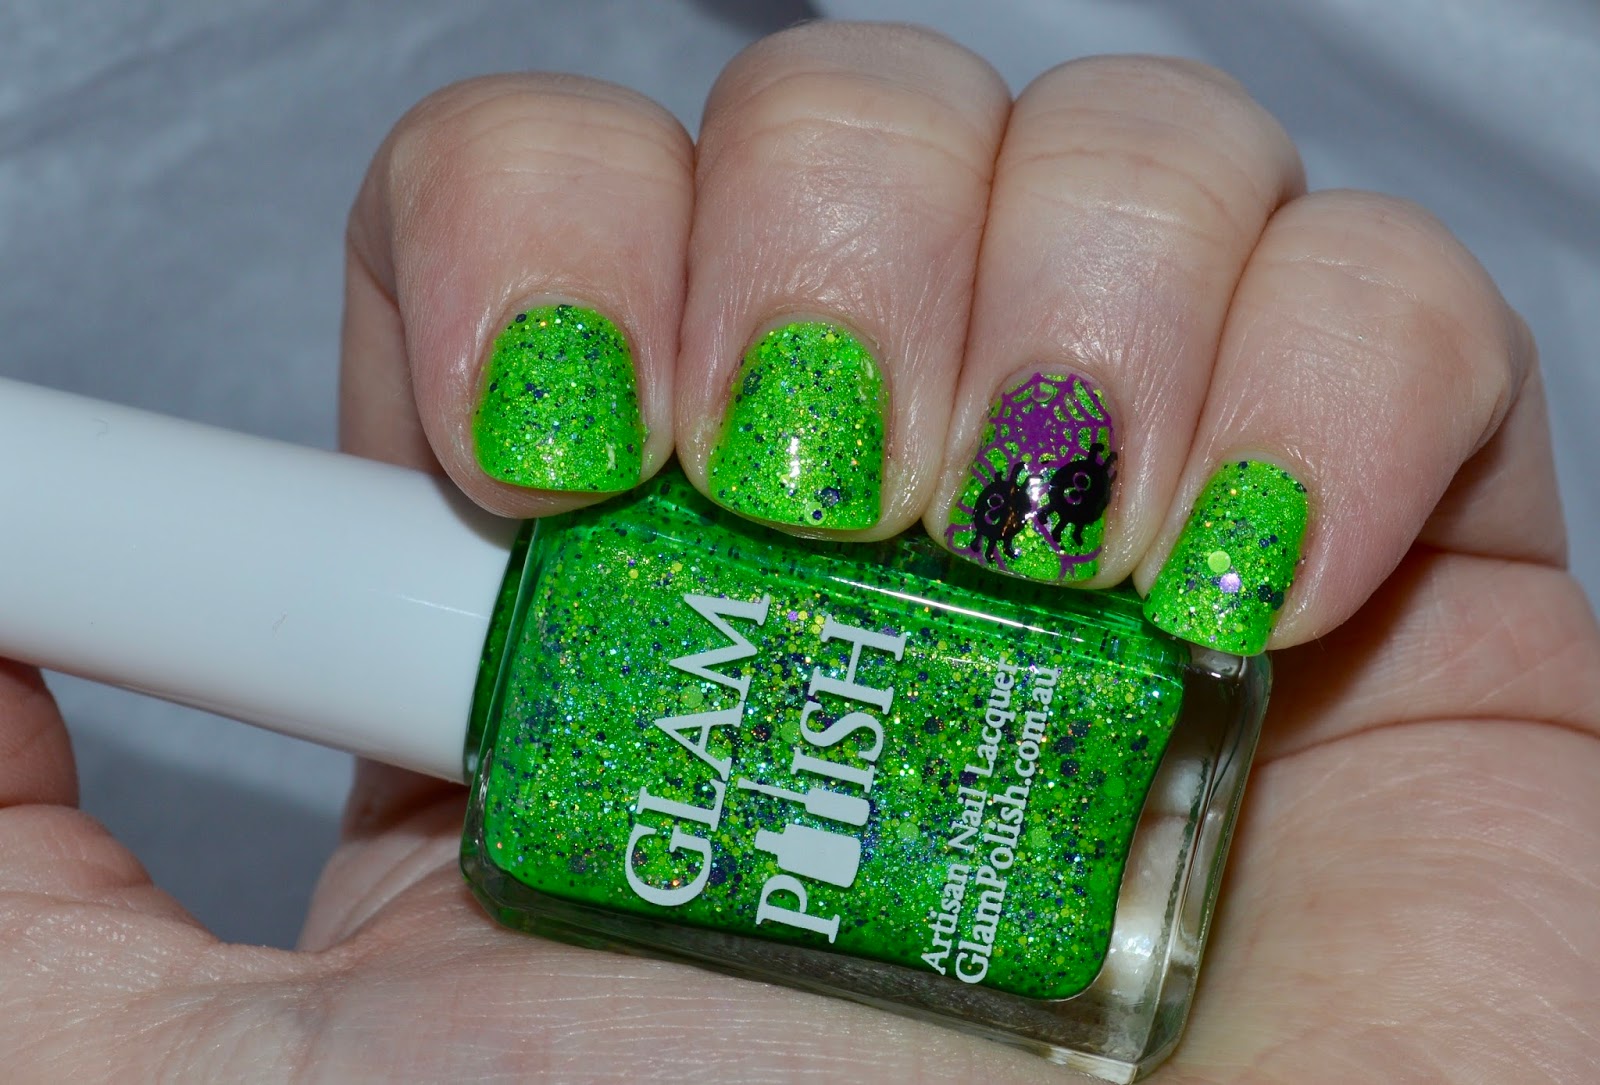
Two coats of Orly french white as base,
two coats of China Glaze point me to the party,
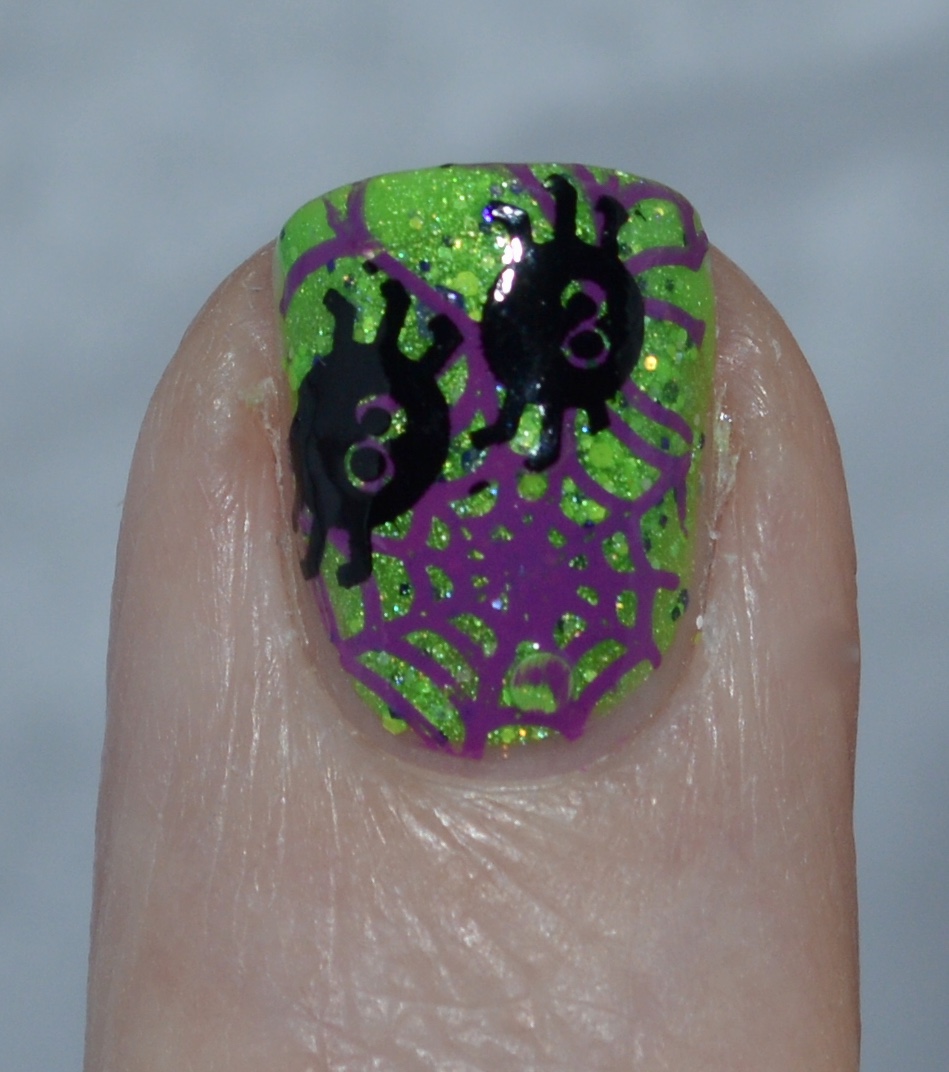
stamping plate is BM 312 with
Pipe Dream Polish v.i.p. pass and on the list,
Sally Hansen 3d gel top coat, and 
Seche vite top coat


 Social Medias>>
Instagram: Onepolishedmomma
Twitter: Onepolishedmom
Facebook: Onepolishedmomma
Snapchat: Onepolishedmomma


I hope you all have a wonderful day!
-Samantha

June 1, 2015

Simple Baby Shower Nails

Yesterday one of my best friends for forever had her baby shower. I can not wait for her little girl to make her grand appearance, but until then I'll just have to paint my nails for her. I wanted something simple to wear instead of my usual bright in your face nails. I  love this color from Orly, it is quite possibly one of my favorites from them. It goes on smooth and only takes two coats. I also broke out my tried and true glistening snow for my accent nail. I had forgotten how sparkly and twinkly it is.

Two coats of Orly lollipop
Three coats of China Glaze glistening snow
Plate BM-H21 with Mundo de unas black
Sally Hansen 3D gel top coat 
Seche vite top coat


Social Medias>>
Instagram: Onepolishedmomma
Twitter: Onepolishedmom
Facebook: Onepolishedmomma
Snapchat: Onepolishedmomma


I hope you all have a wonderful day!
-Samantha

May 11, 2015

Lace Stamping with Born Pretty Store Y003


I absolutely love this plate from  Born Pretty Store. I have been wanting to find a nice lace plate and this one definitely fits the bill. I will say that the only real negative thing about the plate is that there is no backing. Most plates come with something on the back that also helps protect the sides from being sharp. I find I have to be careful when handling this one so as not to cut myself. Other then that this plate is amazing. The images are huge so it will fit all nail lengths, they stamp crisp and clear, the designs are stunning. The direct link for this plate is here.


My base color is 3 coats of Orly mirrorball. I applied one thin layer of seche vite to prepare for stamping. To get the lace image I used mundo de unas black with my pueen stamper. You can tell when looking at my ring finger and thumb that I did put a bit too much pressure when applying the stamp which has made the fine lines smear a bit. It has nothing to do with the plate, it picked up crisp, I just made a bit of error when applying.

Be sure to check out the rest of the nail art  and with my code HMSQ10 you can receive 10% off your order. I really want to use this plate for a pedicure. I think that it would be perfect in white for anyone with an upcoming wedding to attend. You get to still be trendy with stamping and but you get a classic look with the lace.
I hope you all have a wonderful day!
-Samantha