I have been really loving the colors from the China Glaze City Flourish Collection. I have used all of them in several manis lately. Today I really wanted to try another gradient. I just knew that Grass is Lime Greener and At Vase Value would be magical together. I was not disappointed. I did lay down a base color of white. I can not remember which one I used but it most likely was Opi's Alpine Snow.
I went in with my makeup sponge and amazingly enough I only had to go over twice to get the opacity that I wanted. After looking at my nails I decided that they needed something else so I broke out the stamping plates.
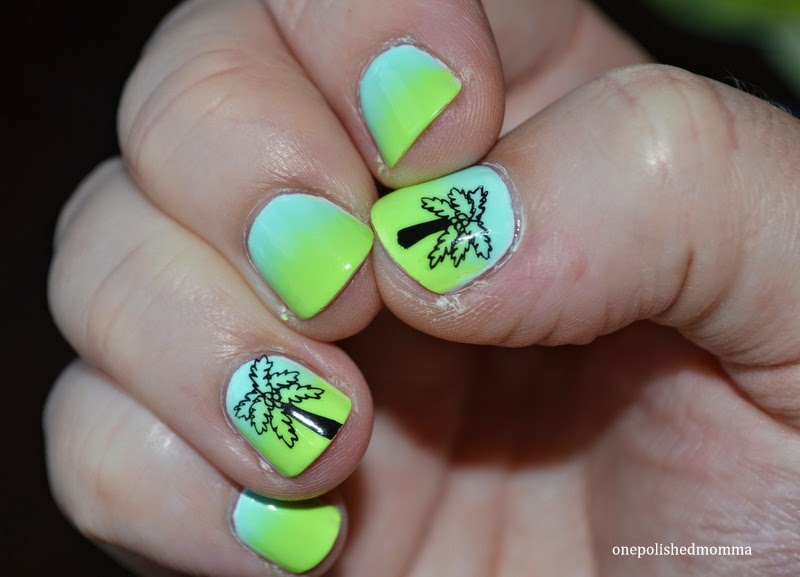
I didn't want anything that would really take the focus away from the colors. I went with a very simple palm tree in black as accent nails.
Colors used: China Glaze At Vase Value and Grass is Lime Greener
Stamping plate: Winstonia plate in W106 with Konad Black Stamping Polish
Top coat: Glisten and Glow HK Girl Topcoat
I just love how bright this is. I actually got asked by a woman while I was out shopping if these were stickers. I was so proud to say that I did them myself.